The hatch of the washing machine is equipped with a rubber seal - cuff. It is it that protects the machine from leaking during washing. During use, the cuff may become worn out, leaky, or be damaged by a foreign object. In this case, you will need to make an independent replacement.
How to put the cuff on the washing machine, you will learn in this article.

Why the cuff is damaged
Due to damage to the sealing gum, leakage may occur in the SMA. What is the hatch cuff exposed to:
- Natural wear. Rubber is exposed to various temperatures, hot and cold water, and detergents. Strong drum vibrations and friction also affect seal life.
- Friction. In addition to the constantly rotating drum and laundry in it, which rub against the cuff, there may be other reasons. In this case, it is necessary to eliminate the item that promotes wear.
- Damage to foreign objects and clothing items. Small items from pockets, locks and zippers - all this can make a hole in the sealing rubber of the washing machine.

What will be needed when replacing
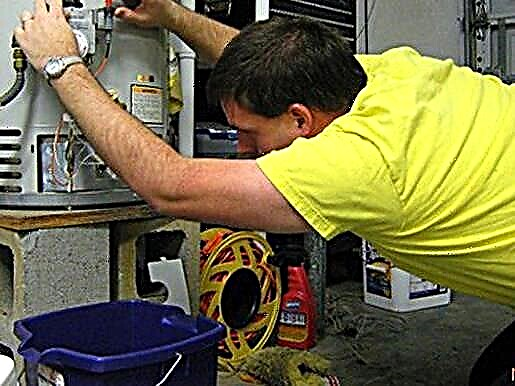
First of all, you need to choose the right cuff for replacement. Always focus on the brand and model of your AGR and, in accordance with this, choose rubber. No need to take a similar product, you need to choose only the original for a specific model of washing machines.
Also, do not forget to buy clamps if your are damaged or need to be replaced. On some SM metal clamps are installed, on others - plastic. The latter are much cheaper.

Now you can prepare the tool. You will need:
- flat screwdriver;
- pliers;
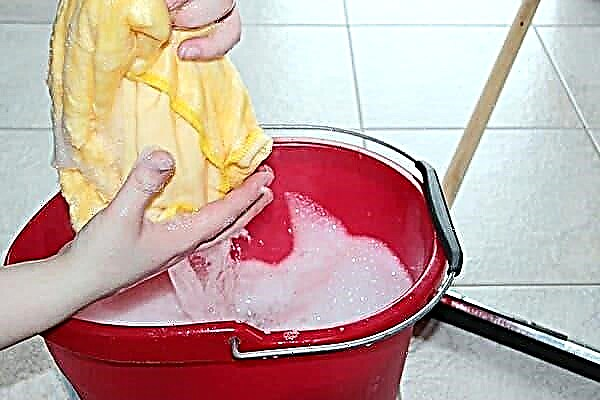
- soap solution;
- sandpaper.
Work order
Before you insert the rubber into the washing machine, it must be removed correctly. This is easy to do by removing the front panel, but you will have to spend a lot of time.

In addition, in some models, the front wall is not removable. In this case, do this:
- Disconnect the machine from the mains by unplugging the plug.
- Firmly holding the door, unscrew the hinges of its fastening. Remove the door.
- Bending the cuff, remove the clamp using a screwdriver.

- In a circle, remove the edges of the rubber and tuck into the drum.
- Pull the inner clamp slightly up and away from the tank.
- Pull out the clamp with the cuff.


You took off the gum. Before you put the cuff on the washing machine, you need to prepare a seat. During operation, there accumulated powder, sediment from tap water. Therefore, wash it with soapy water and, if necessary, clean it with fine sandpaper.
To make it easy to put gum on the drum of the washing machine, grease the seat with soapy water. It is not recommended to use other lubricants, because all this will fall into the drum during washing.
Installation
- Correctly position the cuff will help marking. The triangle usually indicates the top of the rubber and the bottom the hole for the hose.

- Insert sealing rubber onto the tank, referring to the markings.
- With the seal in place, refill it inside the drum.
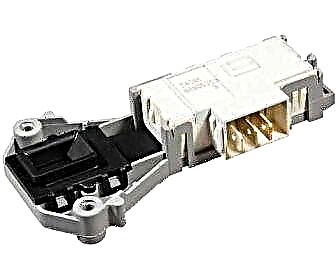
- Remove the two screws, remove the door lock by loosening the connectors.
- Insert a screwdriver into the lock hole. She will allow to keep a collar in a motionless state.
- Carefully put on the inner clamp.
- Attach the lock in place.
- Spread the cuff edges around the outer rim of the washer. Use a soap solution for convenience.

- Install the outer collar by tucking it over the edges of the cuff.
- Screw the hatch door into place.
Now try to close the hatch. If it turns out easy - the sealing collar is installed correctly. Turn on the wash program to test the seal.